RAW Input Development
Develop RAW.
Every input frame, one recipe.
- Camera Look
- Color & Exposure
- Lens & Highlights
- Noise Reduction
- Detail
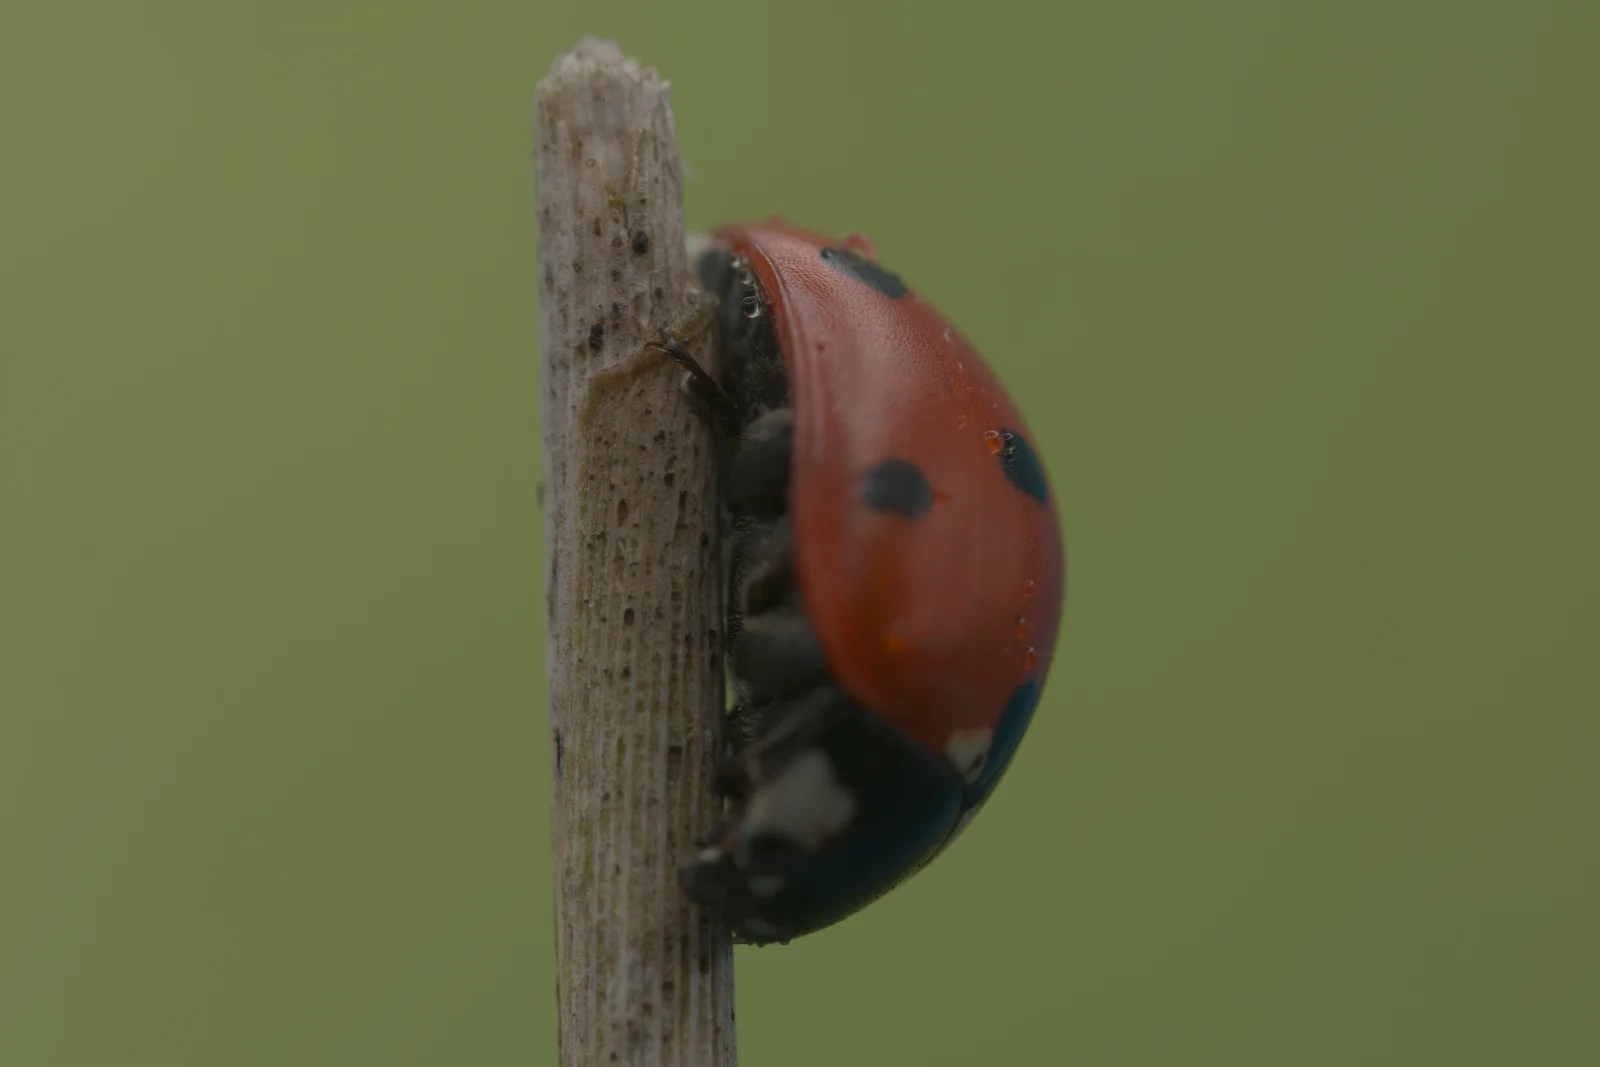
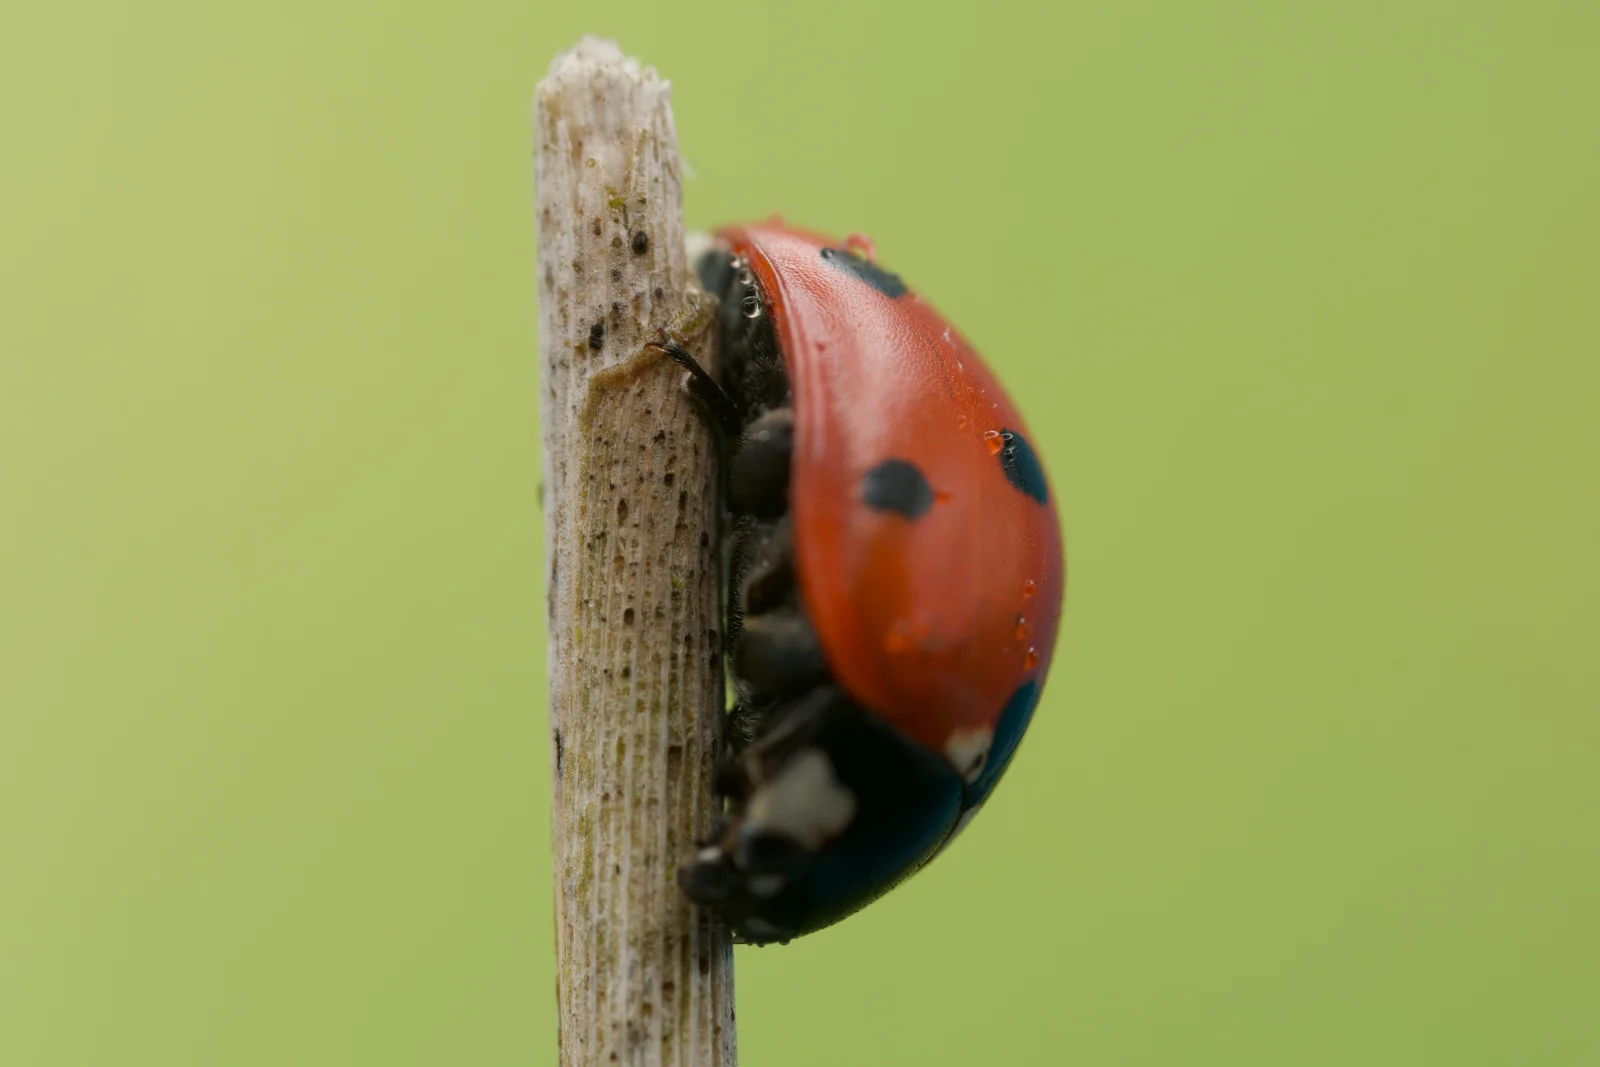 Frame 5 of 12 · Linear


Pay once.No subscription.
Download on the Mac App StoreFree to try. Pro unlocks export.
Built for macOS and Metal: ReeStack finds the brackets in your shoot and stacks them on your Mac's GPU, then lets you paint back detail from the source frames.
$39.99
Regular price $79.99
ReeStack Pro
one-time purchase
Pay once: no subscription, every future update included.
Download on the Mac App StoreFree to download and try. Pro unlocks export.
Many frames in. One sharp photo out.
RAW Input Development
Every input frame, one recipe.
Frame 5 of 12 · Linear
Alignment
Every frame, on the anchor.
Stacking Options
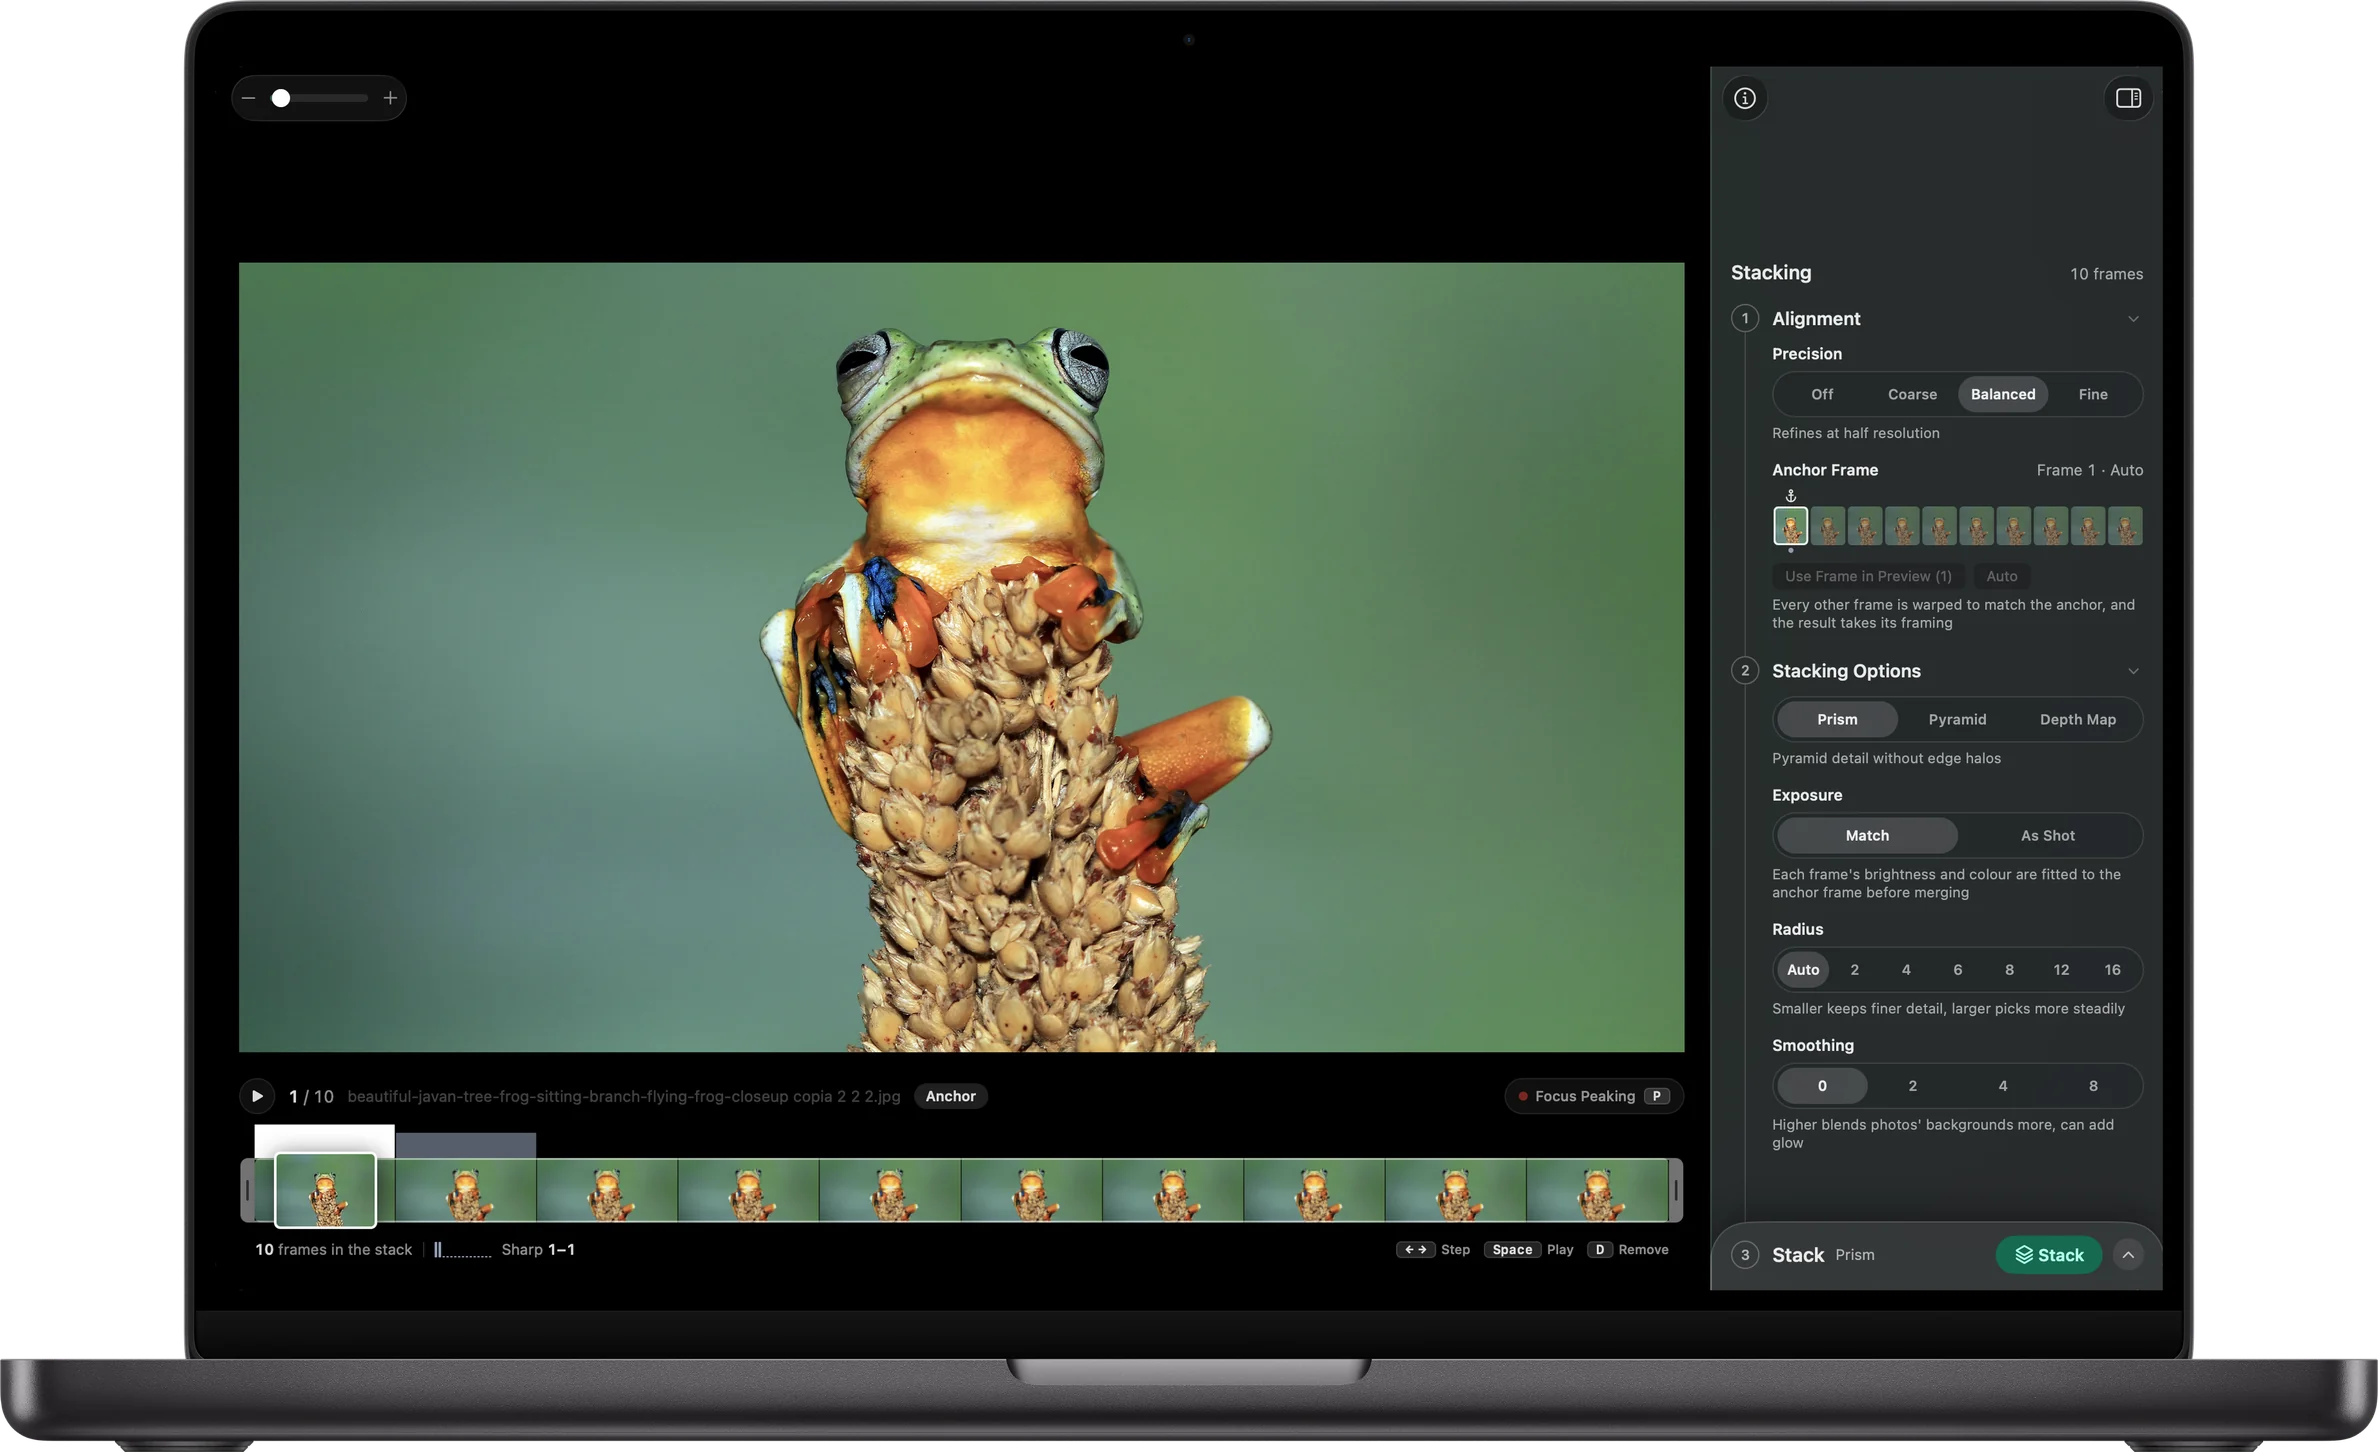
On your GPU. In seconds.
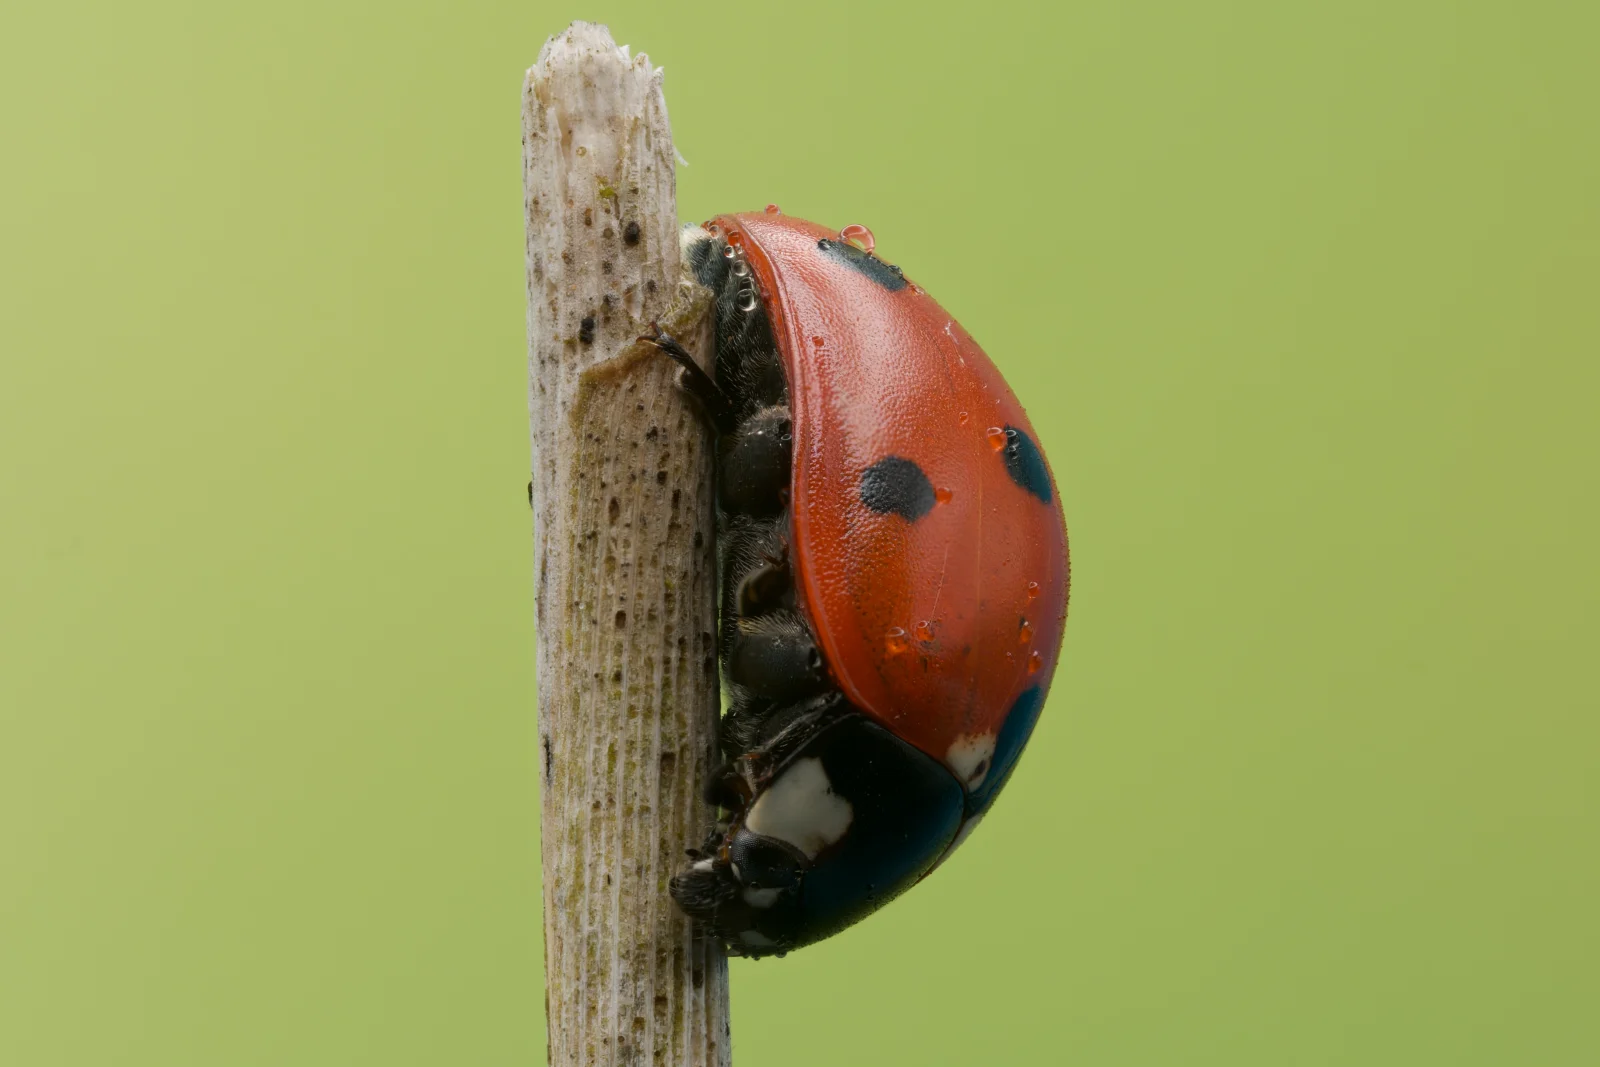
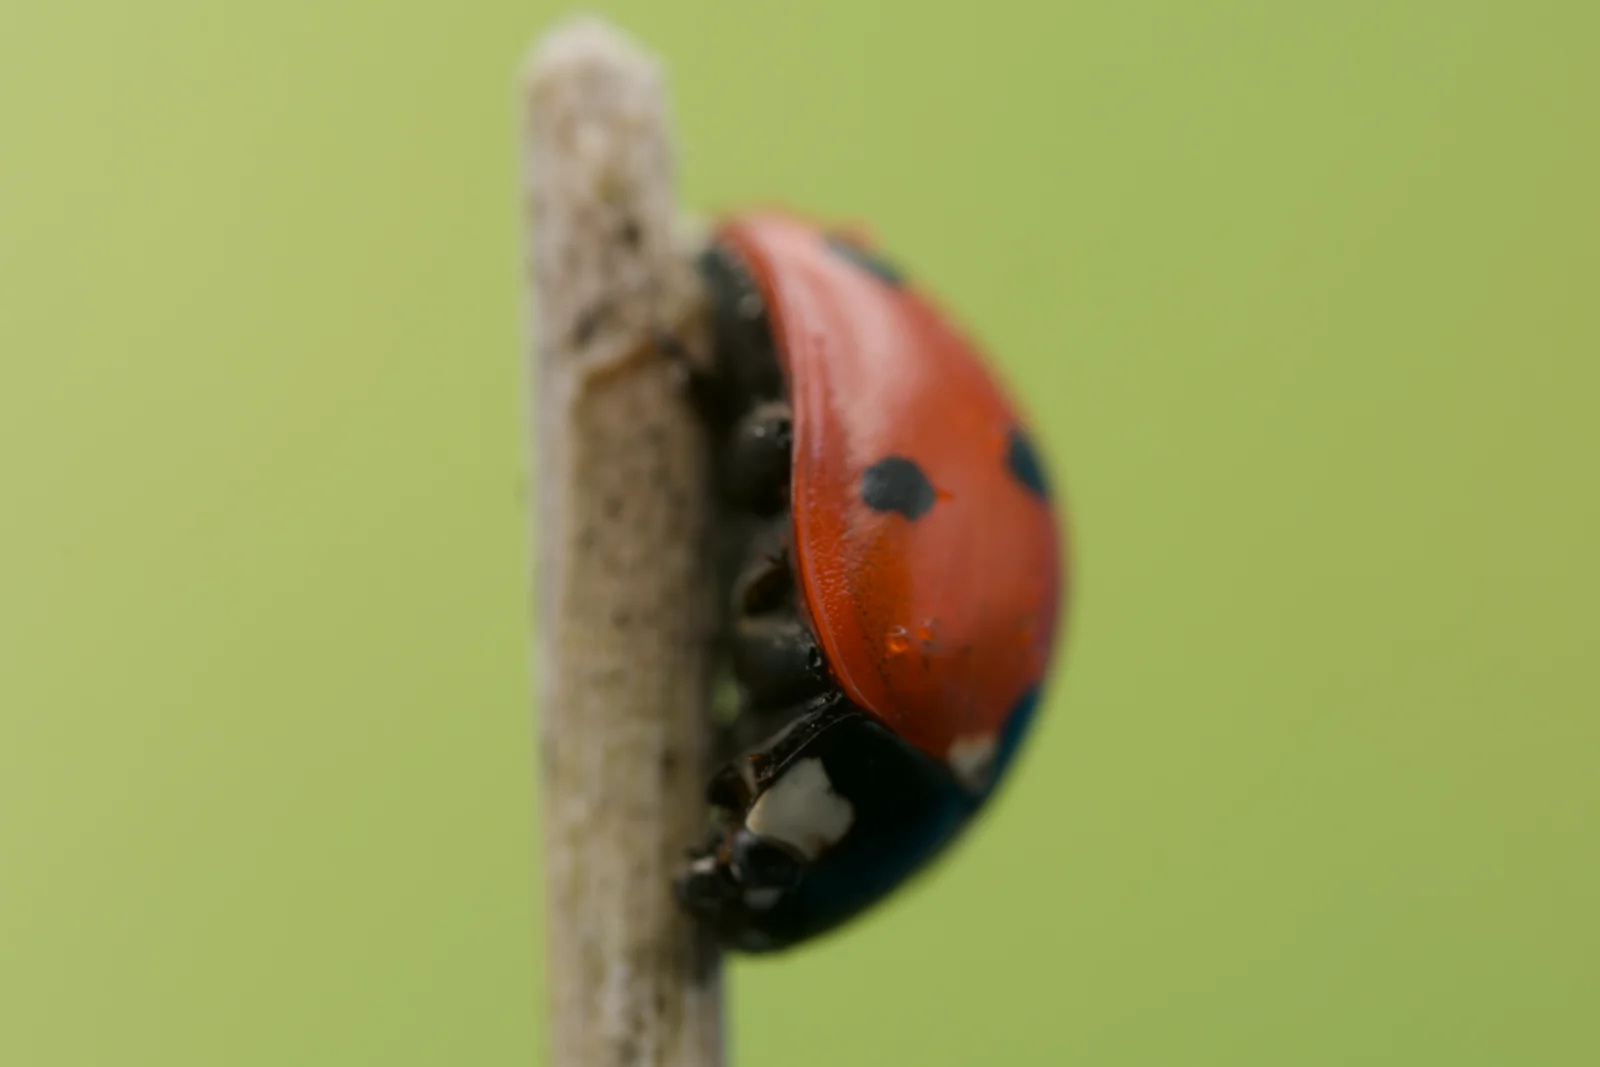
10 RAW frames · 20 MP · Apple M3 Pro · RAW to saved file
Straight after the stack. Finish it here.
Your turn: move any slider.
Your turn: drag the frame or a handle.
On the full 16-bit stack.
Straighten, then crop.
Something soft? Paint it back from any frame.
Press M for the frame map.
⌥-click where it’s sharp.
Brush over the flaw.
RAW in, DNG out. Or any format you need.
Sets the steps between colours.
Sets how far the colours reach.
What you get
Looks the same on every screen and website.
Each dot is a colour the file can write. 8-bit always has the same number; a wider shape spreads them further apart. Not to scale.
Guide
Start with your first stack: five steps from a bracket of photos to a finished file. When you want to know more, the chapters after it cover every setting in the app.
Chapter 01
The quickest way through ReeStack: open the photos of one focus bracket, stack them, finish the picture and export it.
Pick the frames of one bracket, every shot from the nearest point in focus to the farthest. There are three ways to bring them in:
Screenshot
The ReeStack window
assets/guide/first-launcher
Whichever way you choose, the photos become one stack and ReeStack opens on its Stack tab. It reads RAW, TIFF, JPEG, HEIF and PNG files.
Whole shoot?Drop the folder instead. ReeStack sorts the photos into brackets for you: see Whole shoots.
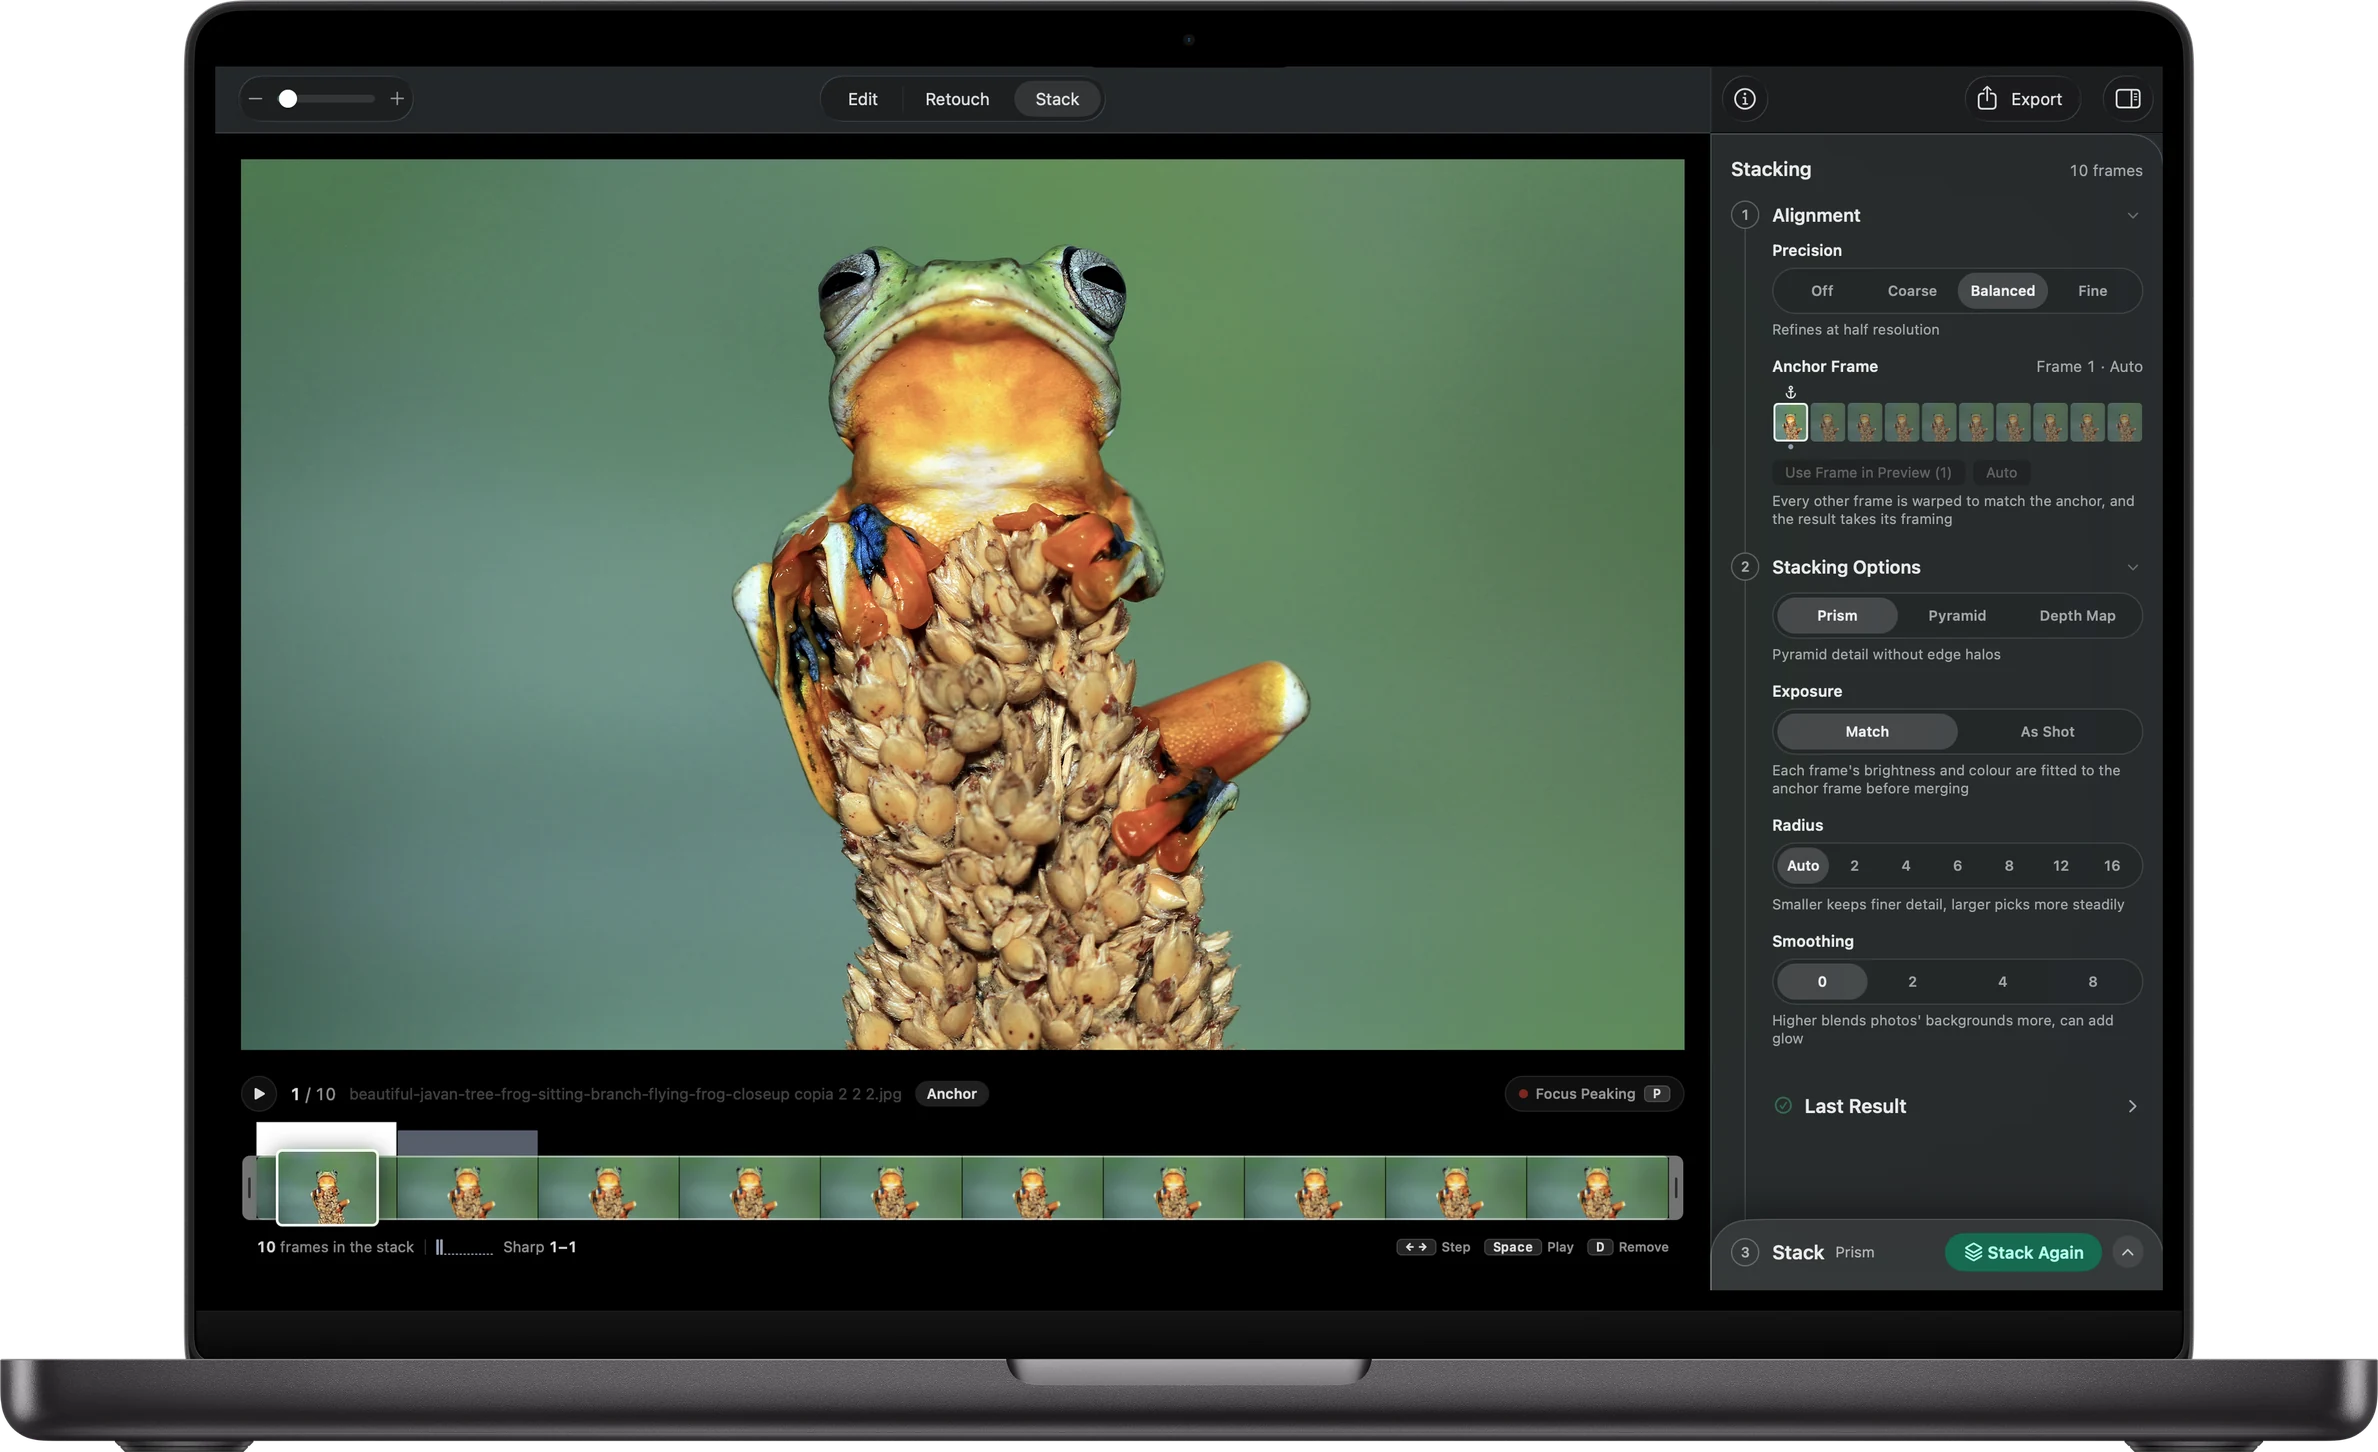
The frames run along the bottom of the window. Step through them with ← →, or press Space to play through the whole bracket. The bars above them show how much sharp detail each frame adds.
Press P for Focus Peaking: it marks what is sharp in the frame on screen, so you can see where each one is in focus.
If a frame doesn't belong, such as a blurred shot or one where the subject moved, press D to leave it out. R brings it back.
Screenshot
A new stack on the Stack tab
Opened from photos (no sidebar), frames along the bottom with the focus bars, inspector open.
assets/guide/first-frames
Press Stack N Images at the bottom of the inspector.
Prism, the algorithm selected by default, is the one we recommend, and most of the time there's no need to touch its settings. To learn what each setting does, see Stacking Options.
A focus map fills in as each frame is merged, with the time left beneath it. You can keep working while it runs.
Screenshot
Stacking in progress
Focus map about halfway, progress card with the time left.
assets/guide/first-run
When the stack is done, the result opens on the Edit tab. Adjust light and colour with the sliders in the inspector, press \ to compare with the result as it was stacked, and switch to Geometry to crop or straighten.
Want to try different settings? Go back to the Stack tab, change them and press Stack Again. Every result is kept: step between them with ↑ ↓.
If the stack goes wrong somewhere, such as a halo around an edge or detail lost where two subjects overlap, the Retouch tab paints it back from the source frames. See Retouch.
Screenshot
The result on the Edit tab
Light & Color inspector with a few sliders moved.
assets/guide/first-edit
Press Export in the toolbar. Pick JPEG to share the photo, or TIFF 16 to keep editing it elsewhere (DNG too, for stacks made from RAW files). Then press Export (Return) and choose where to save it.
Before you export, Write on Photo can add the camera, lens and exposure as a caption, and Signature places your own signature or logo on the picture. Both are covered in Export.
Screenshot
The Export Photo window
Opened from the toolbar on the edited result.
assets/guide/first-export
Keep itPhotos opened this way make an untitled project. Press ⌘S to save it, with every result and edit, and come back to it later.
ProYou can try everything in ReeStack for free. Exporting needs ReeStack Pro, a one-time purchase.
Part 2
In depth.
Everything ReeStack does, screen by screen: projects and whole shoots, every stacking setting, editing, retouching and export.
Chapter 02
Everything you do in ReeStack lives in a project: the photos of a shoot, the brackets found in them, every stack and every result. A project points to your photos where they already are. It never copies, moves or changes them.
When ReeStack opens, it shows your recent projects on the left and a drop area on the right. What you drop decides what kind of project you get:
Before you let go, the drop area tells you what will happen: the folder's name and how many photos it holds, or how many photos will be stacked.
Screenshot
A folder dragged onto the ReeStack window
assets/guide/projects-launcher
New Project… at the bottom asks for the folder of your shoot and then where to save the project file, so the project is saved before you start.
Recent Projects are grouped by Today, This Week and Earlier. Type in Search to find one by name, or use ↑ ↓ and Return to open one. Control-click a project to show it in Finder, remove it from the list or clear the whole list. Open… picks any project on your Mac.
A saved project saves itself as you work. A project opened from a folder or from photos starts untitled: press ⌘S to give it a name and a place.
ReeStack works on one project at a time. Opening or creating another closes the current one, and asks first if it has unsaved changes.
The project file (.reestack) keeps your stacks, every result, your edits and the previews. Your photos stay where they are, and the project only remembers where to find them. Each time a project opens, ReeStack looks through its folders again and picks up photos added since.
Projects grow with every resultSaving a project puts its results inside the project file, so the .reestack file is the whole project: copy or move it and the results go with it. Each result is kept at full quality, as an uncompressed 16-bit TIFF with a map of which frame each part of the picture came from. That's about 145 MB per result at 24 megapixels and about 270 MB at 45 megapixels. Every run adds a result, so a project with several stacks, each run a few times, can quickly reach several gigabytes. To keep it small, export the results you want to keep and delete the rest: control-click a result in the sidebar and choose Delete Result. The space comes back when the project closes.
Your files are safeRemoving photos, brackets, folders or stacks from a project never deletes or moves the files on your Mac.
A folder project opens with three parts: the sidebar on the left to move around the project, the folder, stack or photo you're working on in the middle, and its settings in the inspector on the right. The toolbar changes with what's on screen; its buttons at either end show and hide the sidebar (⌃⌘S) and the inspector.
Screenshot
The project window
assets/guide/projects-window
Stacks running
assets/guide/projects-activity
All Stacks
assets/guide/projects-all-stacks
Chapter 03
Open a folder and ReeStack finds the brackets in it: the runs of shots taken together while focus moved. Check them, fix the few it got wrong, and stack them all at once.
A folder opens with its photos grouped under one header per bracket, in the order they were shot. Each header gives the photo count and the time the bracket took, and a chip says why it starts there: a long pause, such as after 4 s pause, or the date when a new day begins. Its buttons:
Screenshot
A folder sorted into brackets
assets/guide/brackets-grid
Photos that belong to no bracket are under Loose Shots, and photos without a capture time under No Capture Time. Stacked images already in the folder sit apart under Stacked Results.
The toolbar's slider sets the size of the thumbnails. Brackets / All Photos switches between the grouped view and every photo in shooting order, and Import Photos and Import Folder add more to the project. Double-click a photo to open its bracket's review; a loose photo opens on its own.
ReeStack reads when each photo was taken and with what. A new bracket starts when:
The Brackets inspector holds the settings. Changes apply straight away, and are remembered for your next project.
To open a bracket's review, press Review in its header, or double-click any of its photos in the grid. The review shows one photo at a time, with the bracket's photos along the bottom and its position in the toolbar, such as Bracket 2 of 4. The ‹ button at the left of the toolbar takes you back to the folder.
A removed photo stays in the strip, marked Deleted, and is left out when the bracket is stacked. In the folder grid, its tooltip says it was removed in Review. For RAW files, the Preview / RAW switch shows the embedded preview or the RAW itself.
Screenshot
Reviewing a bracket
assets/guide/brackets-review
The card beside the photo follows the bracket through three states:
Drag the card's left edge to resize it; double-click the edge to bring it back to its size.
Sometimes a long bracket is cut in two, or two shots end up together. The review toolbar fixes both:
Both can be undone with ⌘Z (the Edit menu names them Undo Merge Brackets and Undo Split Bracket). They are kept with the photos, so the folder regroups around them and changing the bracket settings doesn't lose them. A bracket you split shows split in Review in its header.
One bracket: press Stack N Images in the inspector while reviewing it; the card beside the photo follows the progress, and you can move on to the next bracket meanwhile. Or press Open in Stacking → in its header to check the settings on the Stack tab first.
All of them: press Auto Stack N Brackets at the bottom of the Brackets inspector.
Select photos in the grid with ⌘-click or ⇧-click, then press Open N in Stacking in the New Stack panel at the bottom. With nothing selected, Open All in Stacking uses every photo shown, and Deselect clears a selection. The panel folds down to a single line when you don't need it. The new stack is named after its first photo; rename it from the sidebar.
Chapter 04
A stack is a set of frames and every result made from them. The inspector lists the settings in the order ReeStack runs them, and remembers your choices for the next stack.
A stack has three tabs: Edit and Retouch work on the result, and Stack holds the frames and the settings that make it. Before the first run, the Stack tab is all there is.
Along the bottom, the bars over the frames show how much sharp detail each one adds, and the caption names the range that matters, such as Sharp 1–10. A small anchor marks the frame every other one is aligned to. For RAW files, the Preview / RAW switch shows the embedded preview or the RAW itself. Zoom with a pinch or the toolbar slider.
Screenshot
The Stack tab
assets/guide/stack-tab
Shown when the stack has RAW frames. ReeStack develops every frame itself, with the same recipe, before stacking. The step starts folded, with its mode and white balance in the header.
Screenshot
The stacking inspector
assets/guide/stack-inspector
As focus moves, the framing shifts a little. ReeStack lines every frame up with one anchor frame before merging, and the result takes the anchor's framing.
Choose how the sharpest detail of every frame is merged. Prism, the default, is the one we recommend, and most of the time its settings need no change.
Then fine-tune it. ReeStack only shows the settings the chosen method uses.
Press Stack N Images. The picture turns into a focus map that builds up as each frame is merged; the card underneath names the step, counts the photos and shows the time left. Stop Stacking ends the run.
You don't have to wait. Move on to another stack: the run carries on under Stack in Progress in the sidebar, and stacks you start meanwhile wait their turn.
Screenshot
Stacking in progress
assets/guide/stack-run
When a run finishes, the result opens on the Edit tab. To try other settings, go back to the Stack tab: the button now reads Stack Again, and above it ReeStack says whether your settings match the last result or lists what you changed.
Screenshot
Stack Again, with a changed setting
assets/guide/stack-again
Every run adds a result to the stack. On the Edit and Retouch tabs, step between them with ↑ ↓, the Result switcher or the strip of thumbnails under the picture; click the switcher's middle to see them all side by side. The inspector's Last Result section, on the Stack tab, lists the settings it was made with under All Settings.
Screenshot
Three results
assets/guide/stack-results
Remove Stack in the toolbar removes the result on screen, or the whole stack when it has only one. Every result is a 16-bit TIFF.
Chapter 05
Finish the photo without leaving ReeStack: light, colour, crop and straighten. Edits never change the stacked result, and they're saved with the project.
The Edit tab opens on Light & Color. At the top of the inspector, the result's name and method, then a histogram with the photo's size and bit depth. Below it, three groups of sliders:
Each group folds, and counts the sliders you moved. Double-click a slider or its name to reset it, or use the group's reset button. Under the picture, Edited · N counts your changes, and Before / After (\) compares with the result as it was stacked.
Screenshot
Light & Color
assets/guide/edit
RAWWhite balance and exposure of the RAW frames themselves are set before stacking, in RAW Input Development on the Stack tab. Edit works on the stacked result.
Switch the inspector to Geometry and drag the crop handles on the photo.
Each card has its own reset.
Screenshot
Crop and straighten
assets/guide/edit-geometry
Chapter 06
Stacking can leave halos around edges or lose detail where subjects overlap. Retouch paints it back from the aligned source frames.
On the Retouch tab, the source frame is on the left and the result on the right. Pick a frame in the Clone from strip along the bottom (← →); the bars and the caption above it show where each frame is sharp. Then paint over the result: the brush copies from the same place in that frame, and its outline is mirrored on the source.
Screenshot
The Retouch tab
assets/guide/retouch
Turn on Show Frame Map in the inspector, or press M, to colour the result by the frame each area came from: the legend runs from the first frame to the last. Hover to see the frame's name, then ⌥-click the result to load that frame as the source, without searching the strip. While you hold ⌥, the brush turns into a picker, so a click never paints; it works even with the map off.
Screenshot
The frame map
assets/guide/retouch-map
Results made before the frame map existed say so; stack them again to record one.
Strokes stay on the Retouch canvas until you press Apply Retouching in the inspector's Result section. Until then, Stack, Edit and Export show the result without them, and the section says Not applied.
Applying saves the retouched picture as the result and keeps the stacked original in the project. Before that, Undo, Redo (or ⌘Z / ⇧⌘Z) and Reset All work on the strokes. Reset All, then Apply, goes back to the result as stacked.
Chapter 07
Export writes the finished photo, with your retouching and edits, in the format you need.
Press Export in the toolbar. The Export Photo window shows the photo as it will be saved; zoom in with its slider to check detail. The Format card gives the estimated file size, dimensions, bit depth and compression of each choice.
Screenshot
The Export Photo window
assets/guide/export
Press Choose Signature… or drop an image onto it: your signature or a logo. A PNG with a transparent background works best. Set its size, then drag it into place on the photo. The project remembers it for your next export.
Screenshot
Caption and signature on the photo
assets/guide/export-caption
Press Export (Return) and choose where to save. The file is named after the stack.
ProExporting needs ReeStack Pro, a one-time purchase with every future update included. Everything else in the app is free to try.
Chapter 08
Send a bracket from your Lightroom catalogue to ReeStack, and get the stack back next to its source photos.
Choose ReeStack ▸ Add to Lightroom Classic… once to install the ReeStack plug-in in Lightroom.
Screenshot
Stack in ReeStack… in Lightroom
A bracket selected in the Library grid, Plug-in Extras menu open.
assets/guide/lightroom
Chapter 09
| Frames and brackets | |
|---|---|
| ← → | Previous or next frame |
| ↑ ↓ | Next or previous bracket, or result |
| Space | Play through the frames |
| P | Focus peaking |
| A | Make the frame on screen the anchor |
| D | Remove the frame |
| R | Recover the frame |
| ⇧R | Recover all removed frames |
| Edit and Retouch | |
| \ | Before / After |
| Double-click a slider | Reset that slider |
| M | Frame map |
| ⌥-click | Load the frame under the pointer as the source |
| ⌃-scroll | Brush size |
| Double-click | Zoom in on a spot, or back to fit |
| Everywhere | |
| ⌘N | New project |
| ⌘O · ⇧⌘O · ⌥⌘O | Open a project · a folder · photos |
| ⌘S | Save the project |
| ⌘Z / ⇧⌘Z | Undo / redo |
| ⌃⌘S | Show or hide the sidebar |
| Return / Esc | Export / cancel, in the Export window |
What focus stacking is, how each stacking method works, and what stacking from RAW means.
In progress
FAQ
Close up, a lens can only keep a thin slice of the subject sharp. Focus stacking takes a series of photos, each focused a little further back, and merges the sharp part of every one into a single photo that is sharp from front to back.
For the long answer, see Dive In.
It takes you from the memory card to the finished photo: it finds the focus brackets in a shoot, aligns and stacks them, lets you fix the result from the source frames, adjust light, colour and crop, and export.
Anyone who shoots focus brackets: macro, close-up, product and still life, and landscapes with a near foreground.
Drop the photos of one bracket on the ReeStack window and press Stack. The default settings are the ones we recommend. The Guide walks you through it in five steps: Your first stack.
At least two. How many depends on the subject and the lens: a landscape may need three or four, a macro subject from a dozen to a hundred or more. ReeStack handles long brackets.
No, but steady frames help. ReeStack lines up every frame before merging, so small shifts between shots are corrected, and handheld bursts with in-camera focus bracketing can stack well. A tripod or a rail gives the most reliable results, above all at high magnification.
Yes. Brackets shot with in-camera focus bracketing or focus shift are what ReeStack looks for when you open a folder, and brackets shot by hand or on a rail work too. See Whole shoots.
No. You shoot the bracket with your camera; ReeStack starts from the files.
No. ReeStack does one thing: focus stacking.
It's free to download, and you can try everything for as long as you like: bracket detection, stacking, Edit and Retouch, on your own photos at full size. Exporting the finished photo needs ReeStack Pro.
Pro is a one-time purchase. The price in your currency is shown in the app and on the Mac App Store. At launch it is 50% off the regular price.
No. You pay once and it's yours to keep.
Yes. Every future update is included in the purchase.
Only export: saving the photo as JPEG, HEIF, TIFF or DNG, and Return to Lightroom. Everything else works, with no time limit.
Yes. The purchase belongs to your Apple Account. On another Mac signed in to the same account, install ReeStack and choose ReeStack ▸ Settings… ▸ Restore Purchases.
Open ReeStack ▸ Settings… and press Restore Purchases. If that doesn't unlock it, write to hello@reeflexstore.com with the Customer ID shown in the same window.
Purchases and refunds are handled by Apple. Ask for one at reportaproblem.apple.com.
No. ReeStack is sold only on the Mac App Store, which also delivers its updates.
Any Mac with macOS 14 Sonoma or later. ReeStack is built for Apple silicon and runs its stacking on the Mac's GPU.
ReeStack is a Mac app. There is no Windows version.
RAW, DNG, TIFF, JPEG, HEIF and PNG. RAW covers Canon CR2 and CR3, Nikon NEF, Sony ARW, Fujifilm RAF, OM System and Olympus ORF, and Panasonic RW2.
ReeStack reads RAW files with the RAW engine built into macOS, so it supports the cameras your version of macOS supports. A quick test: if Preview opens the file, ReeStack does too.
A camera newer than your macOS may not be read yet. Updating macOS usually adds it; until then, converting the files to DNG is a way around it.
No. Pairs are counted once: the RAW is used and its JPEG is hidden. You can turn this off in the Brackets inspector.
Yes. A plug-in sends a bracket from your catalogue to ReeStack and brings the stack back as a 16-bit TIFF, stacked with its source photos. See Lightroom Classic.
There is no plug-in for them. Export a TIFF 16 or a DNG from ReeStack and open it there.
ReeStack works with files and folders. In Photos, choose File ▸ Export ▸ Export Unmodified Original… first, then open the exported files.
Yes. A project only remembers where your photos are. If the drive isn't connected, the folder shows in red; connect it, or control-click the folder and choose Locate Folder….
English, for now.
Start with Prism, the default: fine detail without halos at the edges. Pyramid is the classic merge, with very fine detail but possible halos where a sharp subject meets a blurred background. Depth Map is fast with few halos, and a little softer in fine textures. More in Stacking.
It depends on the size of the photos, how many there are, the alignment precision and your Mac. While a stack runs, ReeStack shows the time left.
Yes. Move on to another stack, review the next bracket or edit a result. Stacks you start meanwhile wait in a queue.
Yes. Open the folder, check the brackets ReeStack found, and press Auto Stack N Brackets. Each bracket becomes its own stack. See Whole shoots.
It reads when and how each photo was taken. A new bracket starts after a pause, when the camera, lens, focal length or image size changes, or when the camera's own bracket counter starts again.
Yes. In a bracket's review, Merge with Next joins two brackets and Split Bracket cuts one in two. If many are wrong, change Pause Length in the Brackets inspector: 5 s keeps slow rail brackets together.
Use Prism if you were on Pyramid. With Prism or Depth Map, lower Smoothing. What is left, paint back from a source frame in Retouch.
Usually no frame was sharp there: check with Focus Peaking (P) that the bracket covers the whole subject, and that no frame you need was removed. For fine textures, try a smaller Radius, or Pyramid.
Raise Precision to Fine. If it stays, pick another anchor frame: show it and press A.
Leave the frames where it moved out of the stack: show the frame and press D. Then use Retouch to paint the moving part from the one frame where it looks best.
Keep Exposure on Match, the default: each frame is fitted to the anchor frame before merging.
As focus moves, the framing changes slightly. After alignment, the borders that not every frame covers are cropped away, so the result holds only what all frames share.
Yes. Change the settings and press Stack Again: every run adds a result to the stack, and you step between them with ↑↓.
No. Everything is computed on your Mac.
RAW, if you have them. ReeStack develops every frame itself with the same recipe, the result keeps the full editing range, and you can export it as a DNG. JPEG and TIFF stack well too.
They are the two ways to develop RAW frames before stacking. Linear keeps the full range of the sensor: no tone curve clips the highlights, and the result exports as an editable DNG. Standard applies tone and colour to every frame before stacking, which can change how the frames blend.
A stack made from RAW files can be exported as a DNG that Lightroom and Camera Raw open like a RAW file: white balance, exposure and highlights are still yours to set there.
Yes. Every result is kept as a 16-bit TIFF, whatever format you export to.
No. Open them as they come off the card.
Yes, for RAW stacks: in RAW Input Development on the Stack tab, together with exposure, noise reduction and lens corrections.
No. Every pixel of the result comes from one of your own frames.
Yes. The Edit tab has white balance, exposure, contrast, highlights, shadows, vibrance, saturation and sharpness, plus crop, straighten, rotate and perspective. See Edit.
No. Edits are kept beside the result and can be changed or reset at any time. \ compares before and after.
Fixing what the merge got wrong: a halo, a ghost, detail lost where two parts of the subject overlap. You pick a source frame and paint from it; the brush copies from the same place in that frame.
Press M for the Frame Map: it colours the result by the frame each area came from. ⌥-click a spot to load its frame as the source.
JPEG, HEIF, TIFF 8-bit, TIFF 16-bit and, for stacks made from RAW files, DNG.
sRGB, Display P3, Adobe RGB and ProPhoto.
JPEG to share, TIFF 16 to keep editing or to print, DNG to keep working on it as a RAW file.
DNG needs the camera data of RAW files, so it is offered only for stacks made from RAW photos.
A DNG is meant to be developed in your RAW editor, so it carries the stacked picture with your crop, straighten and retouching. Light and colour edits, caption and signature are left out.
Yes. Embed in File is on by default and keeps the camera, lens and capture settings of the source photos.
Yes. In the Export window, Signature places your own image on the photo, and Write on Photo adds the camera, lens and exposure as a caption.
Never. A project points to your photos where they are and only reads them.
No. Removing photos, brackets, folders or stacks from a project never touches the files on your Mac.
Inside the project file (.reestack), together with your edits. Copy or move that file and the results go with it.
Only if you want to come back to it. Photos and folders open as an untitled project; ⌘S gives it a name, and from then on it saves itself.
Every result is kept at full quality: about 145 MB at 24 megapixels, about 270 MB at 45. Export the ones you want and delete the rest: control-click a result in the sidebar and choose Delete Result.
Yes. Copy the .reestack file: results and edits are inside. To stack again there, the photos must be reachable too; Locate Folder… points the project to them.
No. ReeStack works on one project at a time, and asks before closing one with unsaved changes.
Open the project again: ReeStack looks through its folders each time and picks up what is new.
No. Everything is done on your Mac. Nothing is uploaded.
No. There is nothing to sign up for.
No tracking and no ads. ReeStack goes online only to check or restore your Pro purchase. The details are in the Privacy Policy.
Yes. A connection is only needed to buy or restore Pro.
ReeStack looks for photos inside the folder you open. If that folder contains one of those libraries, as your home folder does, macOS asks. You can refuse: ReeStack doesn't need them.
In the app, choose Help ▸ ReeStack Support, or write to hello@reeflexstore.com. Attaching a screenshot helps.
The same way: hello@reeflexstore.com.
Through the Mac App Store, like any app bought there.
ReeStack is made by Reeflex GmbH.
No question matches. Try another word, or write to us.
Connect
Questions, bugs or ideas. Write to us.
Reporting a bug? Tell us your Mac, your macOS version and what you did. A screenshot helps.
ReeStack is made by Reeflex GmbH.